a post by Jenni {aka Mom}
We completed 2 separate homemade gift projects this time. I'll give the tutorials in 2 separate posts.
Materials we rounded up for this project:
- plain glass drinking glasses
- black contact paper
- Etch-all etching cream
- cheap paintbrushes
- carbon paper
- pencils & chopsticks from around the house for transfer to the carbon paper
- plain white paper
- pens & pencils
- Exact-o knife
- cutting mat
Here's what we did:
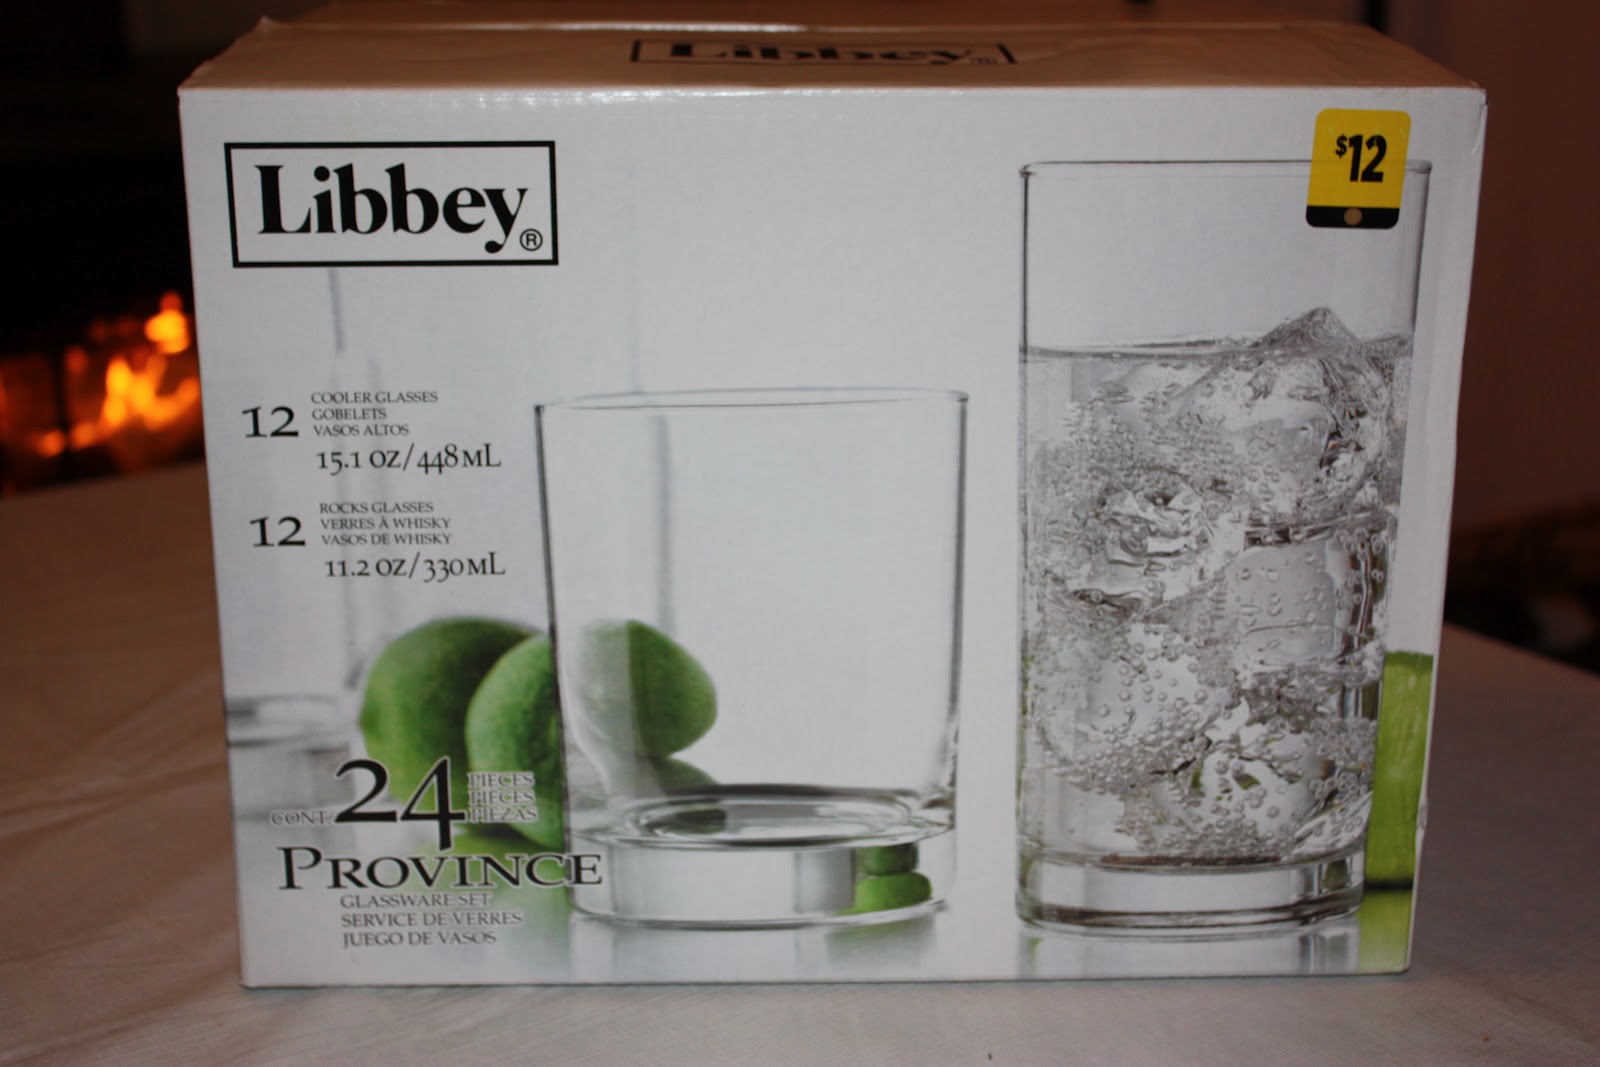
1.) We scored a box of 24 drinking glasses for only $8 at the local dollar store (The sticker says $12 - they were on sale). I was impressed by the weight and overall quality of these glasses for this price.
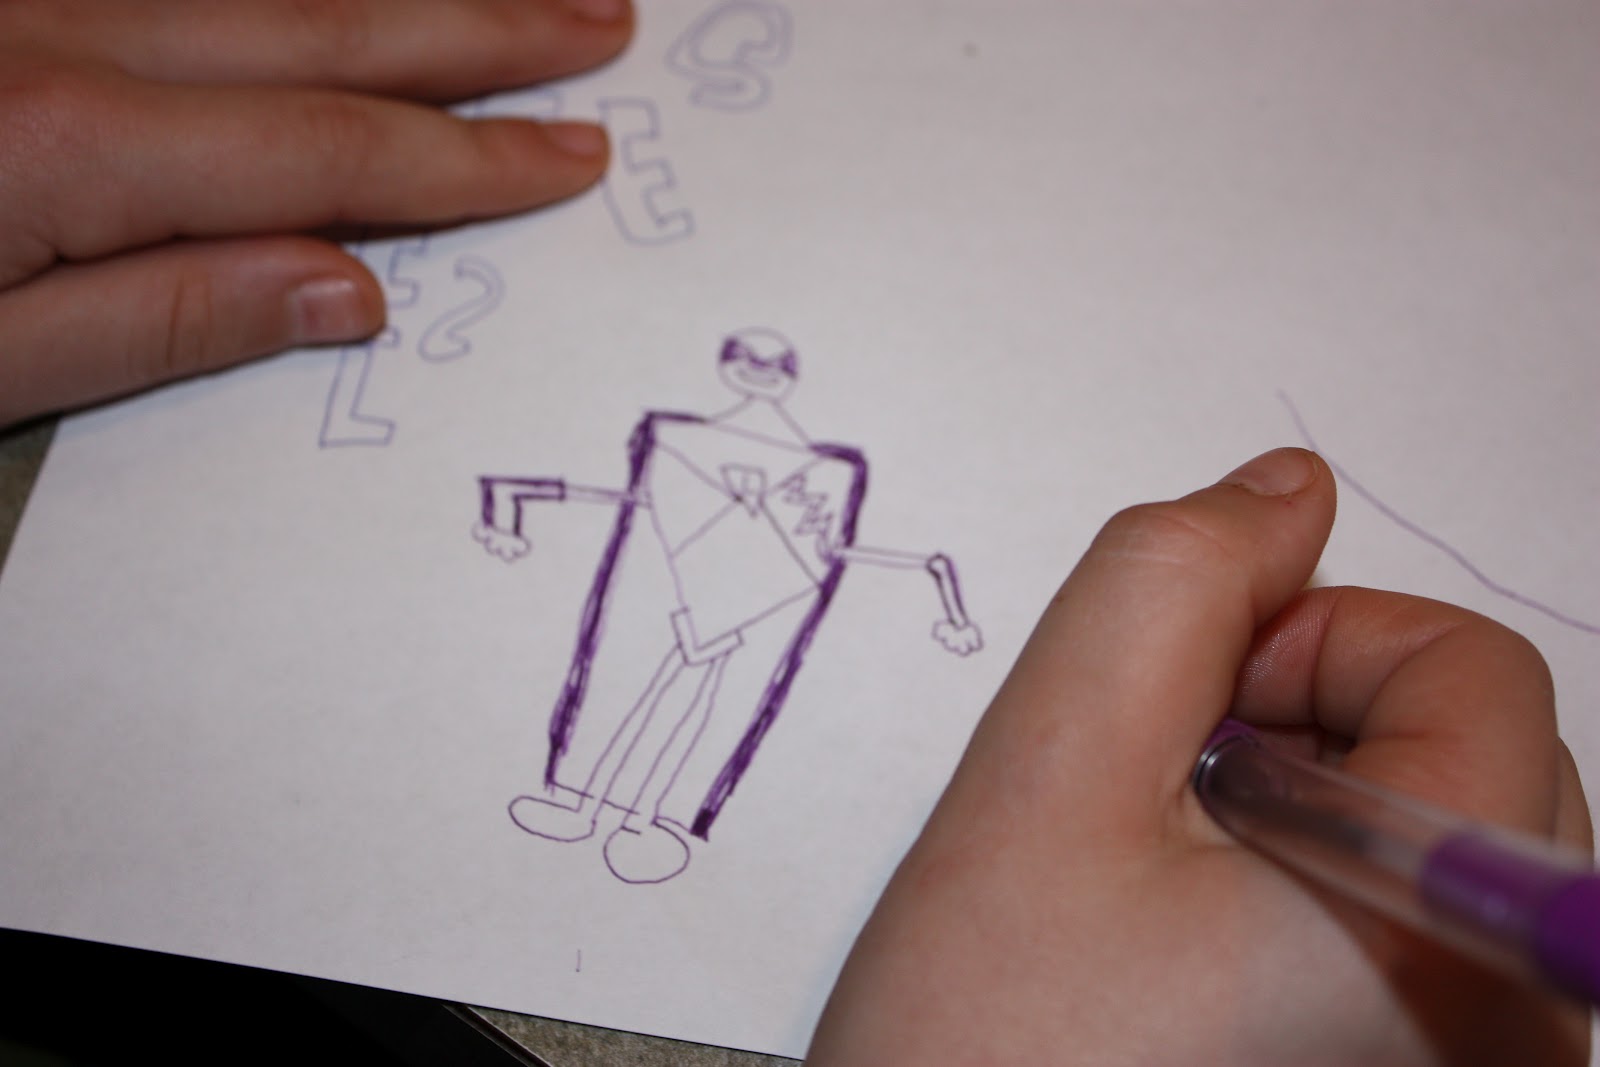
2.) I divided the family members who were to receive the glasses up between the boys, and had the boys draw a picture or artistically write each members name or something else that would represent that person well.
 |
| Rooster working on a Stealth Bomber drawing for his uncle's cup. |
 |
| Bo working on his drawing for another uncle's cup. |
 |
| Bird working on his robot drawing for Grandpa's cup. |
 |
| Bird's superhero drawing for his great-uncle's cup. |
3.) I went over the boys' drawings with black marker and photocopied them (I did this to reverse the names/lettering and so I'd have extras in case I messed up). I then cut contact paper to size, laid it face down on the counter, laid carbon paper on the backing, and the boys' drawing on top.
I secured the layers with masking tape, and used a pencil/chopstick to trace the drawing, pressing firmly to transfer the image to the contact paper backing.

4.) Once the drawing was traced, I used the Exact-o knife to cut it out.

5.) I then wiped the glasses clean with rubbing alcohol, allowed them to dry, carefully removed the areas of the drawing that I wanted to be etched, and applied the remaining Contact paper to the glass. I used a chopstick and my fingers to ensure that all the cut edges were pressed down tightly.

 |
| Some of our custom stencils, ready for etching cream. |
6.) Next, I put on my gloves (Etching cream burns are no joke! Don't let the kiddos mess with it.) and brushed the Etch-all liberally over the stencils.

Nice and goopy! We let them sit the full 15 minutes given in the instructions.

7.) After the setting period, I rinsed the etching cream off the stencils/glasses (with my gloves on!) under running water, removed the Contact paper, and rinsed the glasses completely. I then set them all out to dry.

It was sure difficult to photograph the finished product! The best shots were of glasses full of water and glasses with colored paper inside. I think all the glasses turned out GREAT. Both the artists and the recipients were well pleased.

 |
| Custom etched runner cup, designed by Bo for his uncle. |
 |
| Custom etched Spongebob cup, a collaborative design between Bo & Mom for a cousin. |
 |
| Custom etched artistic name cup for a cousin. |
 |
| Custom etched puppy cup for our Granny. |
To wrap them, I inserted Christmas tissue paper in each glass along with a slip we typed up in Publisher which gave the Artist's name and care instructions. I then wrapped each glass in tissue paper with the "floof" at the top and a gift tag tied on with a ribbon. I took photos, but I can't seem to find them at the moment.
No comments:
Post a Comment