Pages

Showing posts with label Crafts and Projects. Show all posts

Friday, October 26, 2012

Of Camps, Fresh Air, and Friendship {Weekly Wrap-Up 10/26/12}

a post by Jenni {aka Mom}
(Pssst! I'm part of this week's Weekly Wrap-Up over at Weird Unsocialized Homeschoolers! Click over to check out all the other posts, full of tips and tidbits that work in real life.)


The weather here this week has been absolutely gorgeous! We’ve spent as much time as possible outside, soaking it all up. The boys camped out in the backyard Monday and Tuesday nights. 


Monday evening’s mock-camping included roasting hot dogs and marshmallows over the campfire for supper. Our property backs up to some woods, so the boys heard plenty of wildlife through the night. Onyx, our dog, faithfully slept just outside their tent and ran off anything that sounded too close. Bird thought the potential for wildlife sightings was so exciting. They all slept really well come Wednesday night, though! Tuesday morning Daddy took them fishing at a fishing pond about a ½ mile down the road from us. No catches this time, but they had a lot of bites. Ordinarily Daddy takes the boys on a real camping trip in the mountains once or twice a year, but it’s really nice to have a rugged yard as an impromptu and super cheap option for spontaneous camping “experiences”. It’s a great chance for Mom & Dad to have a date night in, too! :)


With the weather as it’s been, and with the “campsite” set up for a few days, we ended up doing much of our schooling outdoors as well. The boys took their independent work outside, and we carved out time for extra nature study and art projects. 


As part of our still-going unit study on The War Between The States, the boys built a lean-to and set up a mini reenactment camp. They used the instructions from the book Great Civil War Projects You Can Build Yourself to build the lean-to, except they decided to make it larger than specified. 


Bo has been helping Dad clear part of our property for a garden by cutting down a bunch of small trees, and those trees make great poles for a lean-to (and for other projects - the boys have been using the trees for all sorts of creative buildings). I had very little input in the lean-to; I just kept an eye out and made sure everyone was safe. I was happy to see the three of them work together as well as they did (isn’t it nice when it works out that way??!). The lean-to probably should have been about 2 feet shorter than they made it. The proportions are off a bit. I still think they did a pretty great job, though...especially for figuring it out on their own.


Once the camp was set up they donned their costumes, sang camp songs, and spoke solemnly about the war. If the hurricane holds off tomorrow, they plan to have coffee and hard tack in the camp before tearing down. 


We had another really refreshing visit on Thursday with a friend of mine and her children. Her son has had a series of doctor appointments she’s driven into town for, and I’ve had the privilege of tagging along to supervise (play with!) her littles during the appointment and tack on some lunch and fellowship afterward. She is one of those amazing women who is so laid-back, kind, godly, serious (but not too much so), and truly refreshing to the hearts of the saints (Philemon 1:7). I’m so thankful for her friendship!

We’ve also begun meeting some new friends, and were introduced to a local homeschool group. I’m not big on co-ops, but this more casual group is a bit more my speed. They meet once a week, with no obligation (just come when you can), and allow the kids to play in both organized and unorganized activities while the moms fellowship and encourage one another. It’s a pretty large group, and includes a large number of boys between 10 and 17 - and since ours are 10, 11, and 14 we fit right in. Our boys have had lots of opportunities to interact with younger children, but not as many to interact with other young men. I think it’ll be a good opportunity for them - and for me. It’s so nice to start making new connections after moving to a new area!

That wraps up a super fun week of "school where you are"! Have a blessed weekend! :)

Tuesday, May 8, 2012

Mom's new home office area

a post by Jenni {aka Mom}

My new office area!
Last fall we rearranged our living room, leaving one corner orphaned with only the piano and a pile of junk which needed to be sorted. Life went on, as life does, and while we intended to "do something" with that corner we never really got around to it. 

Prior to and during that time, I had a problem. I had no designated "Mom space" for grading, computer work, household paperwork, etc., so I had a little homeless "nest" of things that I moved around constantly throughout the day and had nowhere to to park at the end of the day. I'd work at the dining table a while, then clear it for a meal. I'd work at the kitchen counter for a while, then clear it to cook. I'd work in the quiet of my bedroom for a while, then clear it to make room for laundry or for my husband and I to go to bed. I'd work in the living room for a while, then clear it for worship. 

I was functioning okay this way, but I really wanted a more organized and preferably permanently located way to accomplish my work while still supervising the crew. I wanted a "home" for my "nest". 

My husband, Mike, suggested making a place for me in the orphan corner. I balked at the idea at first, thinking that it wouldn't look nice in the living room (and just inside the front door, no less!). However, the more we tossed out ideas, the better it sounded. So Hubby got to work, and here are the delightful results: 


"ORPHAN" CORNER BEFORE:


MOM'S NEW OFFICE NOOK AFTER:


I now have a place for everything, even if I do take some items to another room for a while, they have a home to return to. 

There's a basket on the floor beside my desk to hold my homemaking, school, and garden binders. 

The bird/butterfly boxes on the shelves were cheap finds at Ross, and are designated for current "to be graded" school papers, household papers that need to be dealt with, paperwork that pertains to the business Hubby & I are starting, and papers to be filed.

The shelving enabled us to move all these books out of bookcases that were cramping a hallway, and move those bookcases to Hubby's office (he'd had metal utility shelving before) freeing up the hallway. 


SIDE 1 OF LIVING ROOM BEFORE:


 SIDE 1 OF LIVING ROOM AFTER:  

 
Hubby built the shelves, and stained them dark espresso brown. I adore the oak leaf trim he picked out! He installed them on a simple black bracket system, attached mainly to studs, of course.

We looked at many options for a desk, and ended up with this cherry desk from a used furniture store. It's a bit weathered, but hardwood and dovetailed - and it was less expensive than the the desks of the same size and much lower quality at Costco, Office Max, Staples, and the furniture stores.

The chair isn't what I originally wanted, but it's sturdy, comfortable, and cost me $15. I don't care that it doesn't match. I might refinish it one day, but it's not a priority.


SIDE 2 OF LIVING ROOM BEFORE:  


 SIDE 2 OF LIVING ROOM AFTER:  


The piano is now in the seating area, making the living room feel more complete and making it more comfortable to sing together without the pianist feeling isolated.

One of our old chairs needed to be replaced badly. We pulled my late grandmother's old wing-back out of the attic, purchased an inexpensive slipcover, and it fit right in.

Having this new office area has worked out beautifully for me so far! I can more efficiently accomplish desk tasks and keep track of current paperwork while still being present to supervise the crew. Hubby has the best ideas! :-)

Thursday, May 3, 2012

Handpainted Tile Trivets

a post by Jenni {aka Mom}


Our second 2011 holiday gift craft was hand-painted tile trivets. I saw this idea in an issue of Family Fun last year. You can read their how-to here.


Supplies we used:
  • 6" square white tiles (which we were blessed with for free from a local independent flooring company)
  • ceramic/glass paint
  • clear glossy ceramic glaze
  • misc stencils (some adhesive, some plain)
  • painter's tape
  • misc paint brushes/stencil brushes
  • carbon paper
  • plain white paper
  • pens & pencils
  • chopsticks
  • Q-tips
  • cup of water & paper towels
  • 1" round felt pads
  • hot glue gun


Make sure your acrylic paint is "For Glass and Ceramics"! It's usually in the same racks as the plain acrylic paint. 


Our [FREE!] tiles were already glazed. This project is definitely better with unglazed tiles, especially during the creation process. We found, though, that once they were complete and we patiently applied 3 - 4 coats of glaze allowing each to set for the full curing period and making sure to also glaze the unglazed edges, our trivets have held up to regular use on our table. No peeling so far!

As with the homemade etched drinking glasses, I divided the list of family members who'd receive trivets among the boys. I then gave the boys some basic instructions and let 'em loose:


Some of our designs were stenciled, some were transferred to the tile using carbon paper and then hand-painted, others were hand-painted directly.

We'd stencil or paint in one color and allow it to set for at least 12 hours before adding another color to the tile. We did learn that on the glazed tiles ANY adhesive placed on already dried and set paint which had not yet been glazed would remove that paint. We made this mistake with painter's tape, adhesive stencils, and vinyl transfer paper (we ended up using no vinyl at all for these). 

We liked the sharp edges that adhesive stencils gave, but they had to dry longer after being rinsed and once one layer was down we could no longer use them. We did a lot of layering with plain stencils with no adhesive, carefully pressing down the edges where we painted. Bo did most of his by doing one stenciled layer and free-handing accents and flourish later.


Most of the names that were added were done using carbon paper and then painting free-hand. We typed out the name on the computer, selected a font that we liked, adjusted the size to fit the trivet, and printed it out.


Then we used painters tape to secure the carbon paper and pattern to the tile, carefully avoiding any painted surfaces. We used a chopstick to firmly trace the pattern - and voila! Ready to paint:


Once all the tiles were painted, and had received 3 - 4 coats of glaze, we used the hot glue gun to attach the felt rounds to the undersides. The felt rounds are self-adhesive, but I knew from experience that the adhesive doesn't last very long, so I pulled out the glue gun for good measure. :-)


Here are some of our creations. The sky is the limit on what you can do with these. The idea is completely open to the whims of your creativity!


I love the practical nature of these homemade gifts for women. They are personal and creative, yet don't take up a lot of space, can easily be put away, and are something that a grandmother, mother, or other relative can proudly display and use on a daily basis. They make a great homemade gift for Mother's Day, housewarmings, and other occasions too.

The boys also made trivets for me, and I love having them on our table at dinnertime! What precious memories!

Monday, April 30, 2012

Easy Homemade Custom Etched Drinking Glasses

a post by Jenni {aka Mom}

Well, it's the end of April, and I'm relieved to report that the last undelivered homemade Christmas gift was finally received and opened. NOW I can show you all what we did, and how we did it. Yay!

We completed 2 separate homemade gift projects this time. I'll give the tutorials in 2 separate posts. 

Materials we rounded up for this project:
  • plain glass drinking glasses
  • black contact paper
  • Etch-all etching cream
  • cheap paintbrushes
  • carbon paper
  • pencils & chopsticks from around the house for transfer to the carbon paper
  • plain white paper
  • pens & pencils
  • Exact-o knife
  • cutting mat
One could easily use one's Silhouette or other craft cutter to cut designs from vinyl and use the reverse for this project, instead of fooling with the contact paper. I think it was worth it to use the contact paper and transfer the boys' original designs.

Here's what we did:


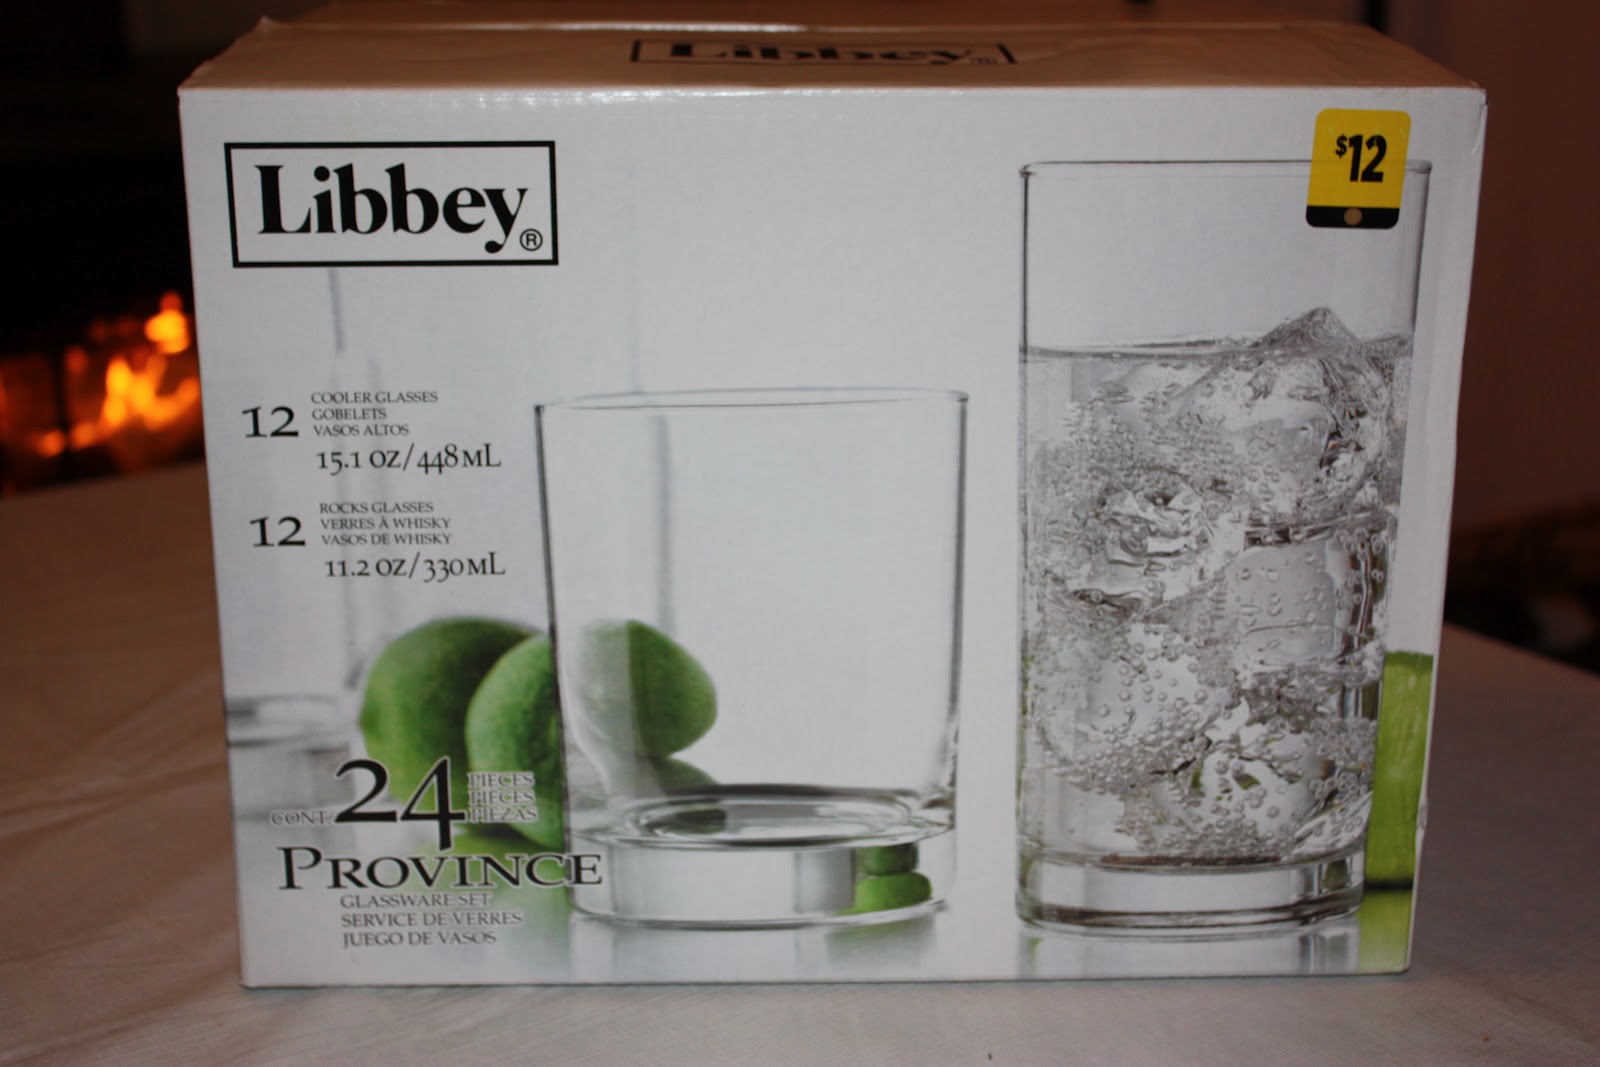
1.) We scored a box of 24 drinking glasses for only $8 at the local dollar store (The sticker says $12 - they were on sale). I was impressed by the weight and overall quality of these glasses for this price. 


2.) I divided the family members who were to receive the glasses up between the boys, and had the boys draw a picture or artistically write each members name or something else that would represent that person well.


Rooster working on a Stealth Bomber drawing for his uncle's cup.
Bo working on his drawing for another uncle's cup.
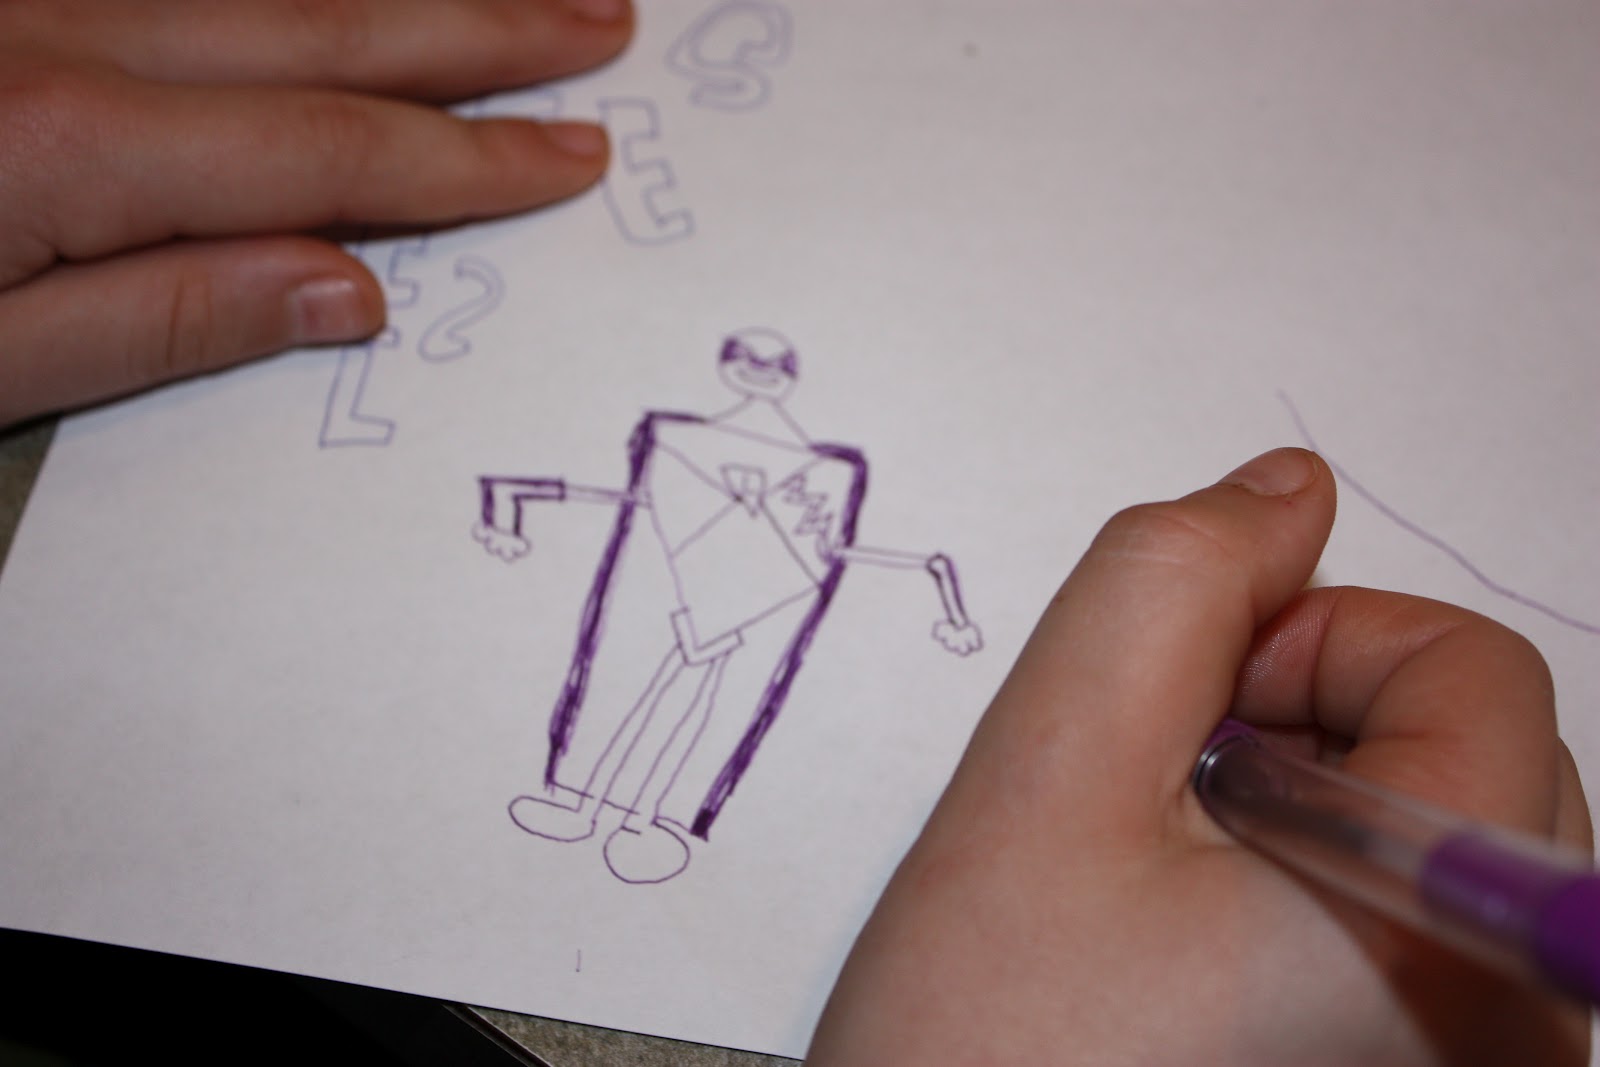
Bird working on his robot drawing for Grandpa's cup.
Bird's superhero drawing for his great-uncle's cup.


3.)  I went over the boys' drawings with black marker and photocopied them (I did this to reverse the names/lettering and so I'd have extras in case I messed up). I then cut contact paper to size, laid it face down on the counter, laid carbon paper on the backing, and the boys' drawing on top. 

I secured the layers with masking tape, and used a pencil/chopstick to trace the drawing, pressing firmly to transfer the image to the contact paper backing.


4.) Once the drawing was traced, I used the Exact-o knife to cut it out.


5.) I then wiped the glasses clean with rubbing alcohol, allowed them to dry, carefully removed the areas of the drawing that I wanted to be etched, and applied the remaining Contact paper to the glass. I used a chopstick and my fingers to ensure that all the cut edges were pressed down tightly.

Some of our custom stencils, ready for etching cream.


6.) Next, I put on my gloves (Etching cream burns are no joke! Don't let the kiddos mess with it.) and brushed the Etch-all liberally over the stencils.


Nice and goopy! We let them sit the full 15 minutes given in the instructions.


7.) After the setting period, I rinsed the etching cream off the stencils/glasses (with my gloves on!) under running water, removed the Contact paper, and rinsed the glasses completely. I then set them all out to dry.


It was sure difficult to photograph the finished product! The best shots were of glasses full of water and glasses with colored paper inside. I think all the glasses turned out GREAT. Both the artists and the recipients were well pleased.

Custom etched runner cup, designed by Bo for his uncle.
Custom etched Spongebob cup, a collaborative design between Bo & Mom for a cousin.
Custom etched artistic name cup for a cousin.
Custom etched puppy cup for our Granny.

To wrap them, I inserted Christmas tissue paper in each glass along with a slip we typed up in Publisher which gave the Artist's name and care instructions. I then wrapped each glass in tissue paper with the "floof" at the top and a gift tag tied on with a ribbon. I took photos, but I can't seem to find them at the moment. 

These glasses are a simple, fun homemade gift idea. They make a practical gift that the recipient can use in daily life for years to come - with a sentimental & personalized touch.